Efficient tools to build your streaming infrastructure
Nimble Streamer Installation Procedure
Nimble Streamer can be installed on all major platforms and their flavors. You may have bare metal or virtual server - Nimble works fine in any environment.
The process is simple:
Sign up for WMSPanel account, or sign in if have it.
Log into your server and install Nimble Streamer.
Register Nimble instance in WMSPanel.
Set up Nimble instance via WMSPanel and use it in various scenarios.
You won't no need to log into your server again after installaiton.
You'll have 2 weeks of free trial period at your registration. Nimble Streamer instance costs only 50 USD per month after that, see full price list for more details.
You may also watch video tutorials on our YouTube channel where we show some installation cases. Like, in Push SRT to Amazon EC2 you can see the installation process on AWS EC2. Check "Set up streaming scenarios" section below for more examples after you complete the installation.
Sign up / Sign in
Nimble Streamer instance must be registered in WMSPanel cloud control service so you need to have an account prior to installing the server.
Nimble Streamer has more registration options. You may add pre-configured server, specify credentials, use proxy and more. This helps building large deployments with great level of automation.
Nimble supports using HTTP proxy to access WMSPanel via --proxy option for nimble_regutil.
sudo/usr/bin/nimble_regutil --proxy proxy_url
proxy_url is HTTP proxy URL/address to use to access WMSPanel, e.g. 192.168.0.1:3128 or proxy_user:[email protected]:3128.
That will add required settings to nimble.conf after successful registration in WMSPanel via proxy.
If you have pre-configured Nimble Streamer instance which is not in WMSPanel, you may register this server in the panel and import existing settings using the following command. Read this article for details. Please back up your rules.conf before using this method to avoid accidental damages.
You may also apply pre-defined rules.conf to some server which already exists in WMSPanel. You run this command, it will erase existing settings and will apply new settings. This article also has details on this.
This option is avialable only for subscribed accounts. Contact out helpdesk to enable it.
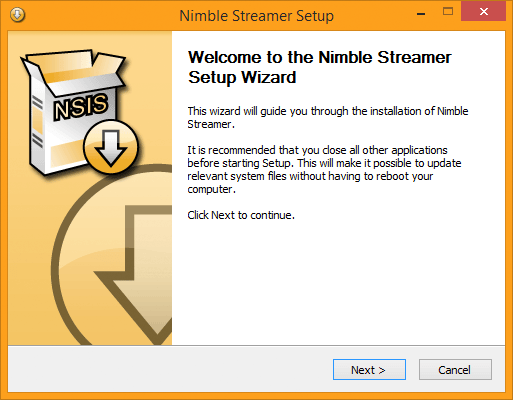
Launch the installer and follow setup wizard steps.
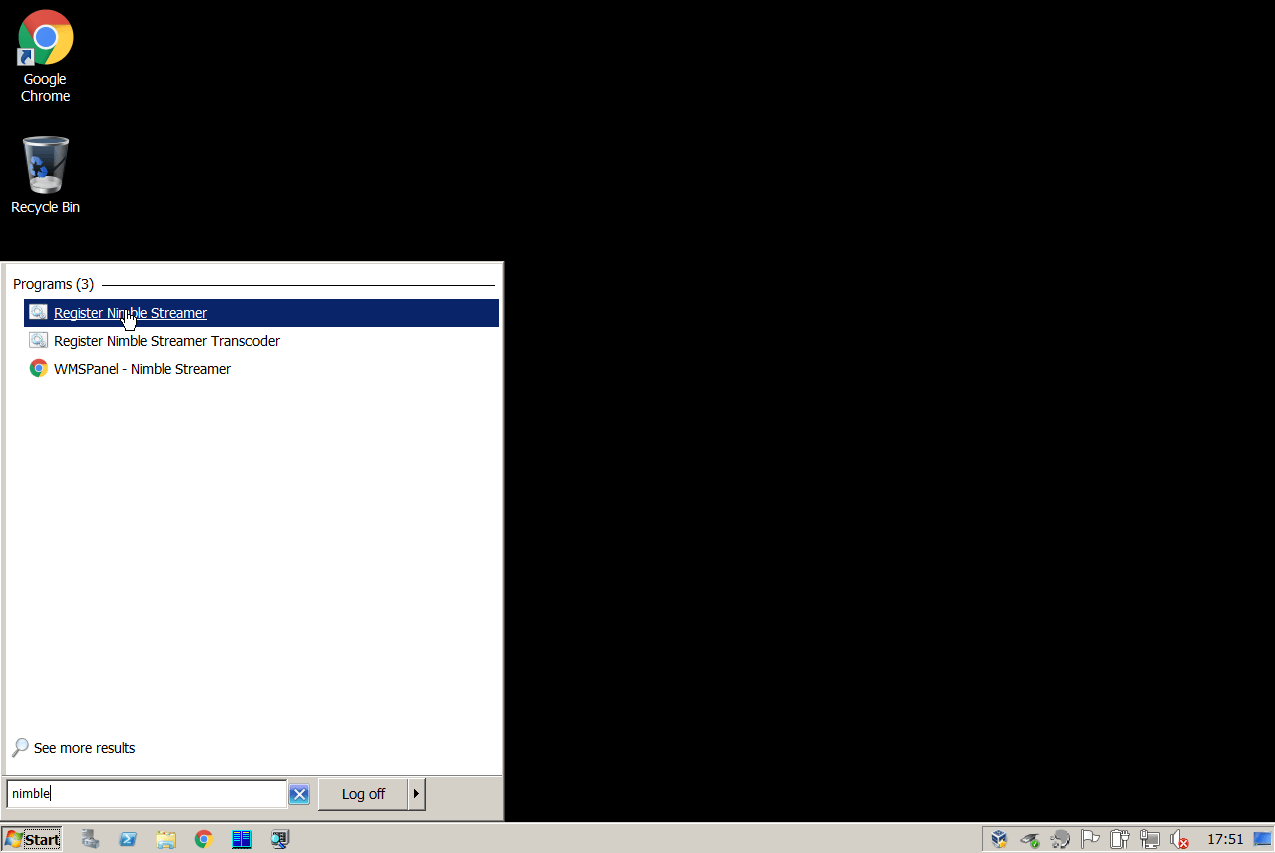
Register server in WMSPanel
Windows 8.1 / Windows 10: Search for "Register Nimble Streamer" in the Windows Start menu
Windows 7 / Windows Server 2003/2008/2012/2016: Start -> All Programs -> Nimble Streamer -> Register Nimble Streamer
Server will appear in the panel immediately. If you got "Unable to find writable nimble.conf file" message than you need to right-click on "Register Nimble Streamer" and select "Run as Administrator".
Firewall setup (optional)
You may need to add firewall rule for Windows 8:
Search for "firewall" in the Windows 8 Start menu.
Select Windows Firewall from the options that appear in the top left.
Click on "Allow an app or feature through Windows firewall" in the Windows Firewall window.
Click "Allow another app..." in the bottom right corner.
Click "Browse..." and select C:\Program Files\Nimble Streamer\bin\nimble.exe
Click "Add" to add Nimble Streamer to the "Allowed apps" list.
"The application has failed to start because its side-by-side configuration is incorrect.
Please see the application event log or use the command-line sxstrace.exe tool for more detail.
Press any key to continue . . ."
It means that you need to install the following packages:
To operate server run: net stop NimbleStreamer net start NimbleStreamer
Upgrading Nimble Streamer
Just download and install the latest Nimble Streamer setup available. The installer will update binaries and will keep the existing configuration files. Yes, it's that simple.
You can read release notes with description of major changes in the product.
Nimble Streamer config cloud backup allows making manual and automatic backups of Nimble streaming settings and restore them any time in case of misconfiguration.