Larix Tuner web service was designed with remote control production in mind.
Now we introduce remote control capabilities for Larix Broadcaster which you can operate via Larix Tuner.
The following features are supported at the moment:
- Configure streaming connections for live streaming.
- Configure talkback connections.
- Define video and audio encoder settings.
- Configure overlays.
- Enable/disable recording on device.
- Start/stop/pause/resume live streams.
- Switch camera, control zooming and other camera settings.
- Mute/unmute, set input gain and other audio parameters.
- Enable/disable overlays.
- NEW: Preview real-time video feed in control UI.
Thus, all settings and actions from Larix Broadcaster UI are accessible via Tuner web UI.
Workflow
The workflow is simple:
- Operator gives full control to Larix Tuner and can only start/stop/pause the stream.
- Producer who is logged into Tuner sets all settings for connections, encoders etc.
- Producer can start the stream, manipulate its flow and set Broadcaster settings between streaming sessions.
- Once all is done, producer can pass control back to operator.
Here’s how you can do that.
We assume you’ve already created and paid for Larix Tuner license and activated it on Larix Broadcaster.
You can watch this tutorial about license activation.
Pass control to Larix Tuner
First, upgrade your Larix Broadcaster instance via AppStore or Google Play to get the latest version with all features.
Now open it, go to main menu and open Larix Tuner menu.
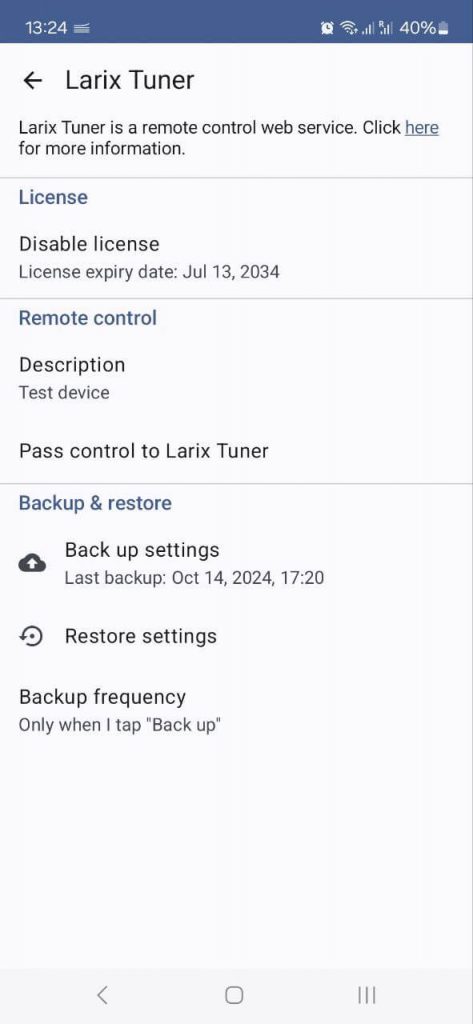
Here you can see a License status section, Remote control section and Backup&restore controls section.
Let’s look at Remote control section.
Description field allows setting a custom title to current device to make it distinct from others in a list in Tuner, so a producer could operate it properly.
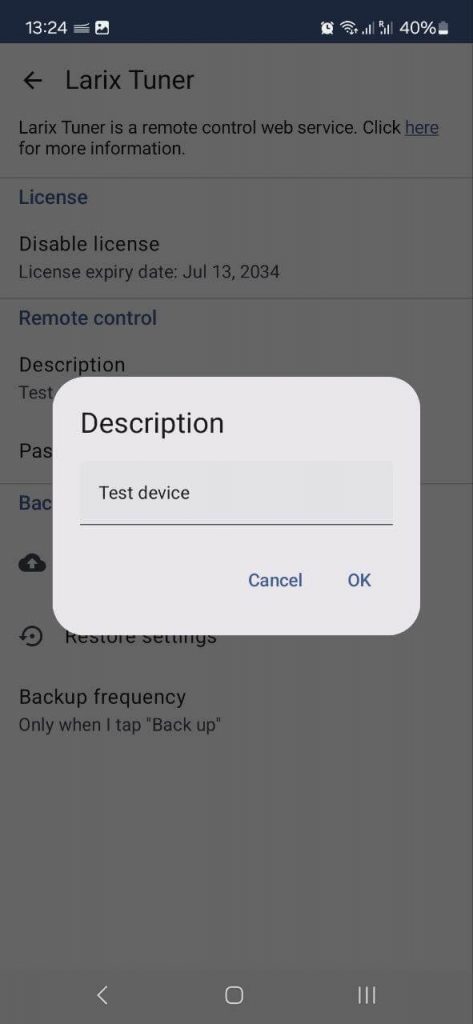
Once the description is set, an operator can pass control to Larix Tuner by tapping on Pass control to Larix Tuner.
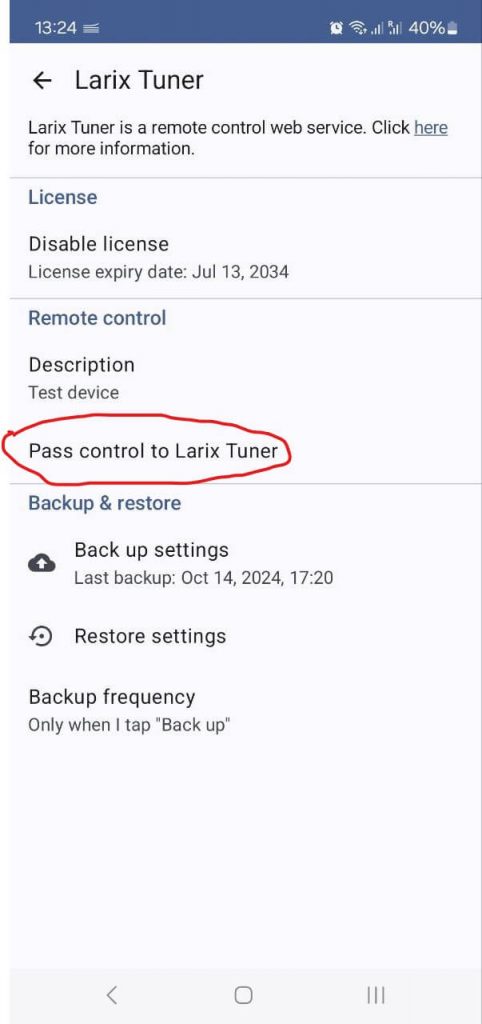
Here’s what happens next.
Control workflow
Once the button is tapped, the follow logic is applied:
- Larix Tuner takes full control over Larix Broadcaster instance.
- Producer who operates Tuner can set up any settings available in Broadcaster menu.
- Broadcaster main menu becomes disabled and inaccessible from the application’s UI.
- Producer can define any settings of Broadcaster via Tuner UI.
- Producer can start/stop/pause/resume the stream, and also perform other actions like camera switch, overlays control and more – see more details below.
- Producer can return control to operator, this will disable all abilities for producer and enable all controls back for operator.
Here you can see Broadcaster UI after the control has been passed to Tuner. Settings menu is disabled, while start button is enabled, as well as other operations, including quick display options.
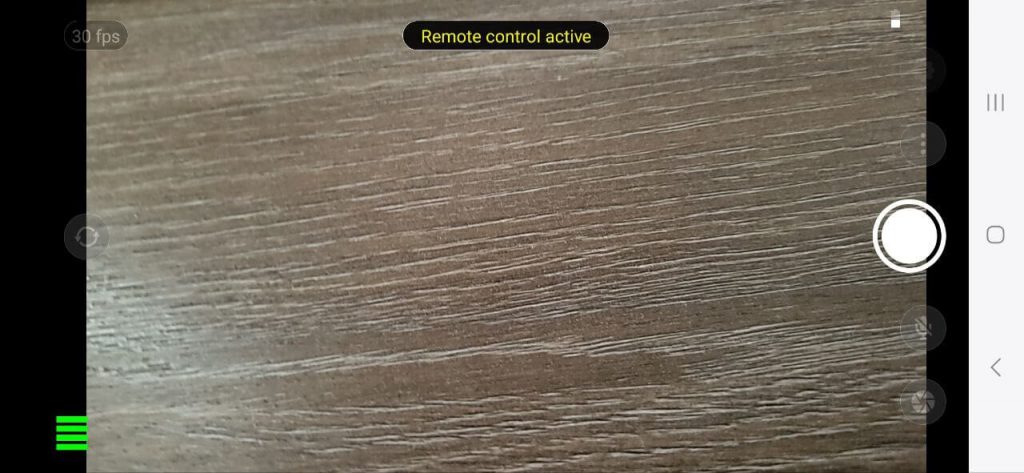
Now, let’s look at how a producer can operate Broadcaster from Tuner web service.
Settings configuration
Now, log into Larix Tuner and go to Devices page. You can see a list of devices that are currently activated under your license. In our case it’s just one Android device.

You can see a note under device saying it’s under control and an icon with a remote. Clicking on the device name brings us to device control console.
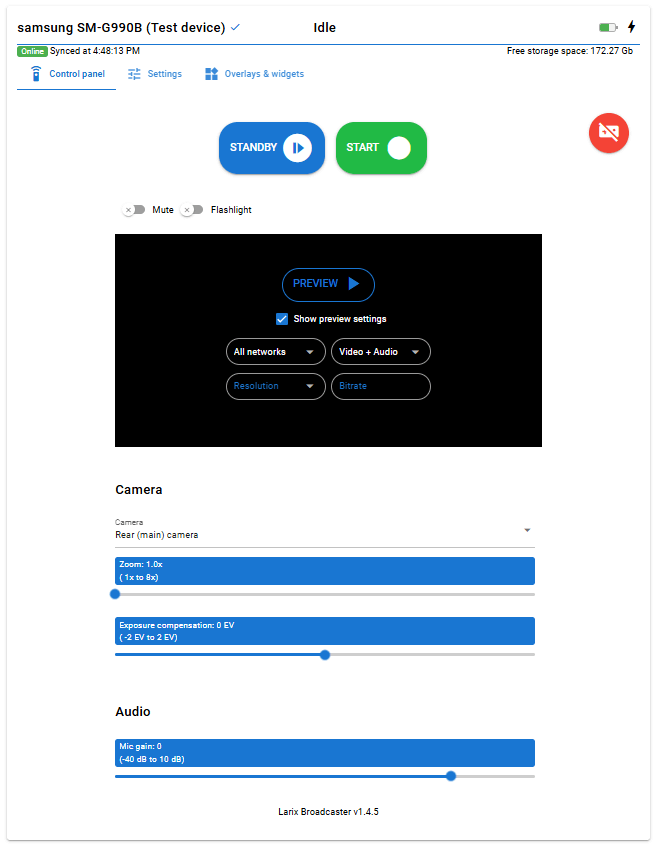
Top line shows the device model which is returned by the underlying OS and also the Description defined by operator as we described above. The line also has the temperature and battery indicators, and free storage space for those who enable local recording.
The streaming state (it’s Idle in the picture above) will be explained later in this article along with streaming buttons.
Top line also shows the last sync time in case there are any network-related issues. If the sync was delayed for at least 60 seconds, the status will turn into Sync delayed to show that there might be a problem with connectivity between the device and Tuner service.

If the sync was not received in 3 minutes, it turns into Offline and will stay that way until the device sends any sync.

Now, when you want to release control back to Larix Broadcaster operator, just click on the red release button.

Right after that, your device will operate independently. All setting that the producer defined during remote control session, will remain in Broadcaster instance after the release.
The preview player allows viewing current content of the device – both video and audio – in real time. We’ll get to the details later in this article.
We’ll also review other control capabilities below as well, but first let’s see how you can define Larix Broadcaster settings.
When you tap on Settings tab you see Connections tab first where you can add, edit and remove connections. The checkmarks on the left indicate that respective connection is synced to the device.
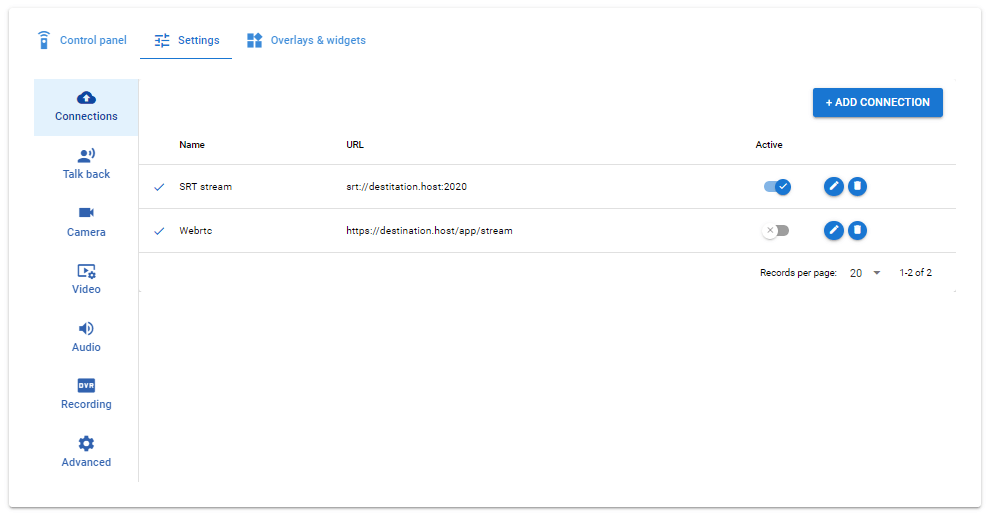
All parameters of SRT, RTMP, RSTP, WebRTC, Zixi or RIST connections are the same as you can see in Larix Broadcaster interface. You can also activate each connection and they will be applied within a few seconds.
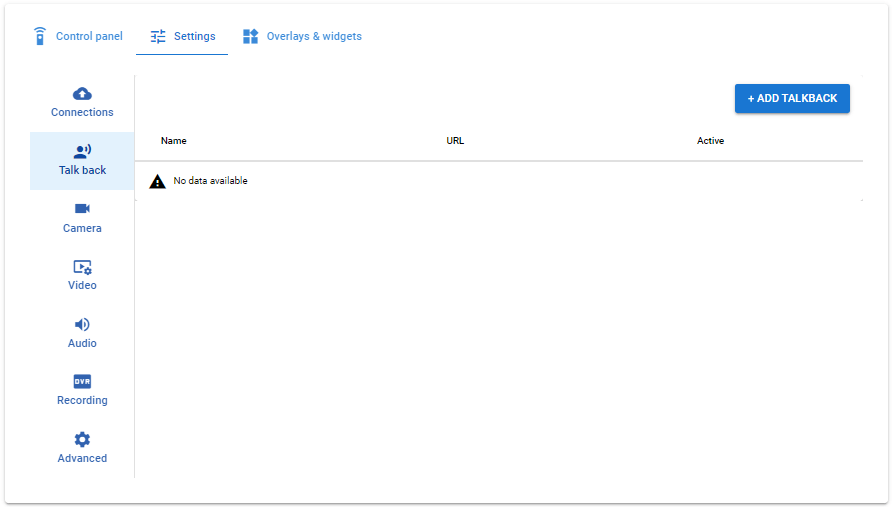
Talkback tab allows setting up the talkback functionality of Larix Broadcaster.
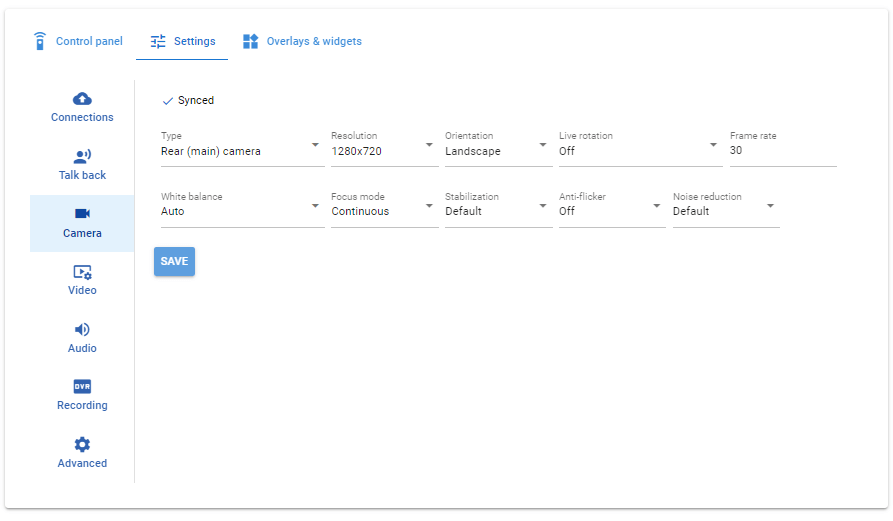
Camera tab provides all setting of device’ cameras for capturing, like which camera is active, what’s the resolution, FPS, orientation etc.
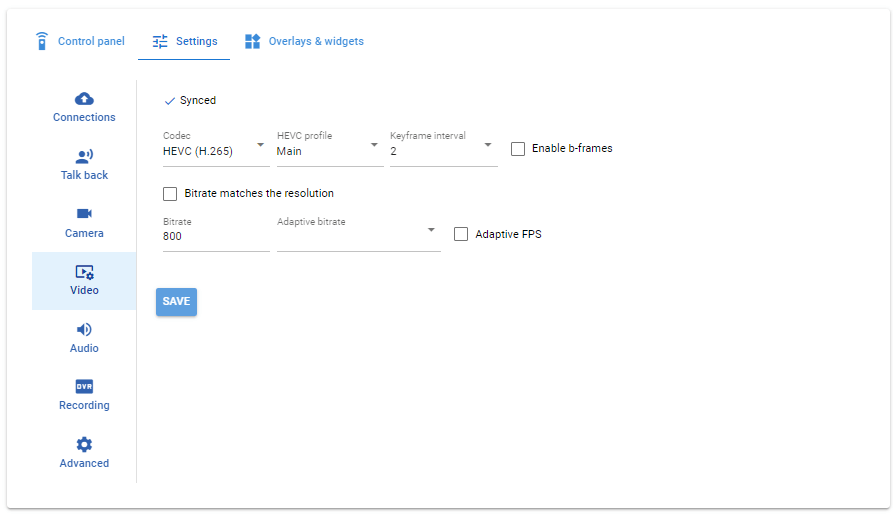
And Video tab provides the setup for the encoding process, such us codec, profile, ABR algorithm etc.
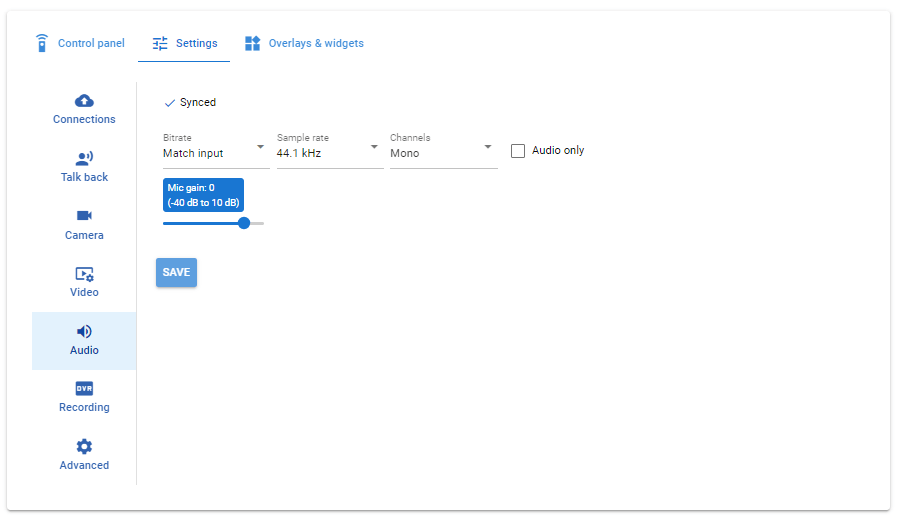
Audio tab gives control over the sound in your stream, like bitrate, sample rate, gain, etc.
Recording tab defines parameters of local recording on the device in case you need to have a copy of your stream.
Advanced tab gives more parameters for network-related behavior and other specific settings.
Overlays configuration
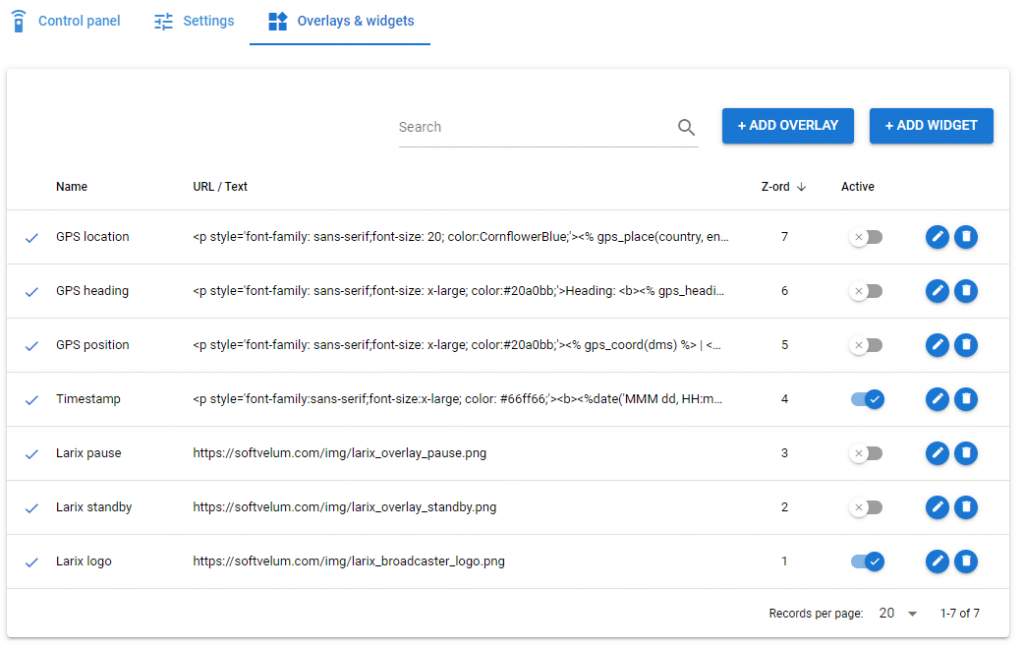
Overlays & widgets upper tab opens up capabilities to control overlays and web widgets.
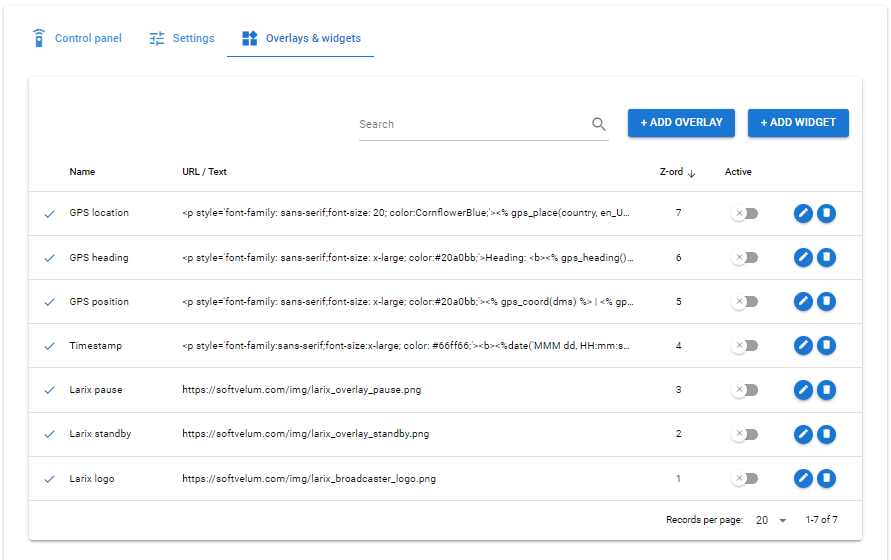
The checkmarks on the left indicate that respective overlay is synced to the device.
Just like you do in Larix Broadcaster, you can create an overlay with an image and a text, including GPS overlay, timestamps etc.
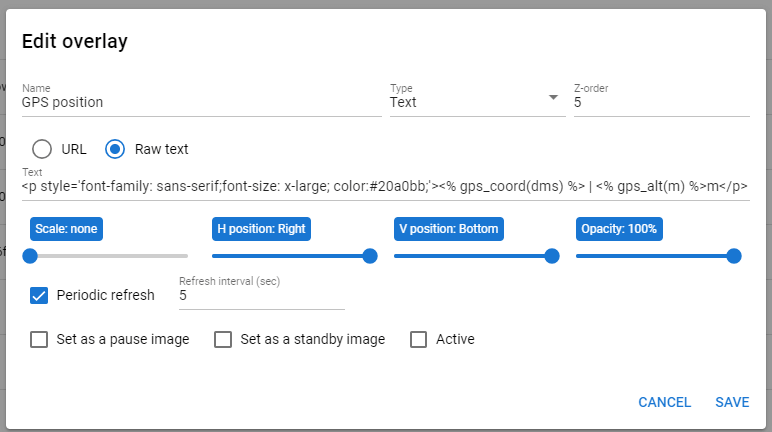
Web widgets are also supported and you can edit them just like you do at Larix Broadcaster. Later on we’ll create a visual editor for them.
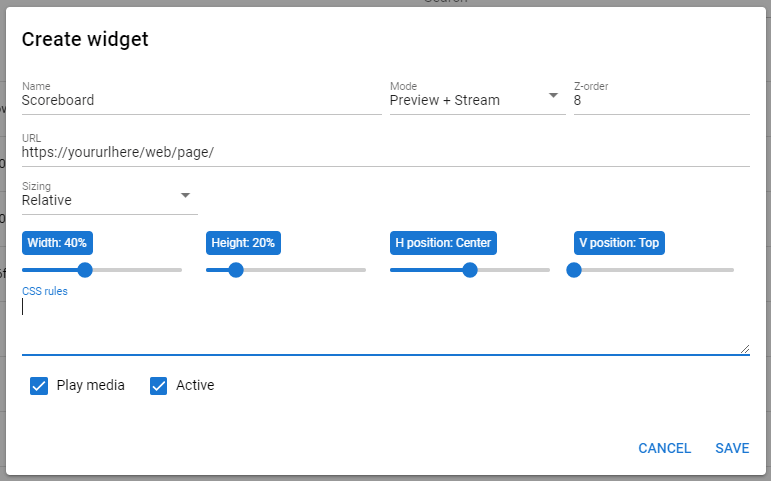
Once you enable overlays and widgets, they will appear in Broadcaster instance within a few minutes.
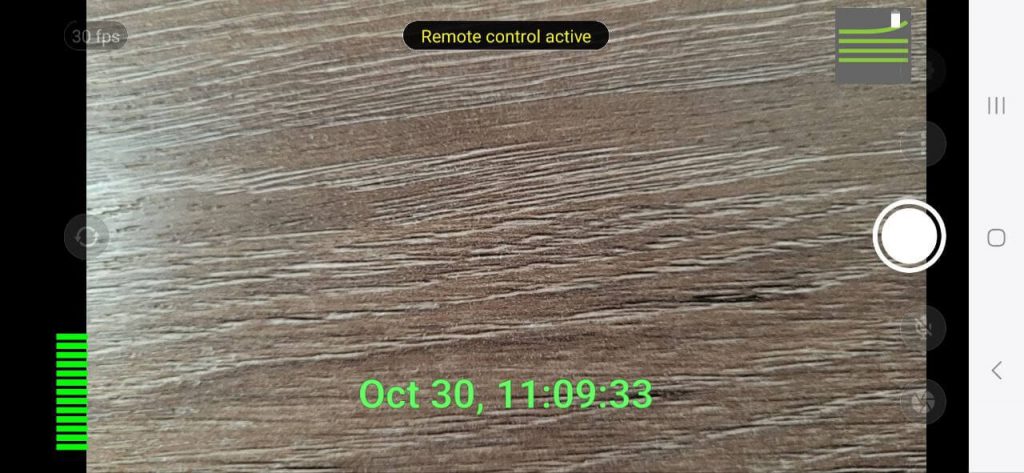
Here they are, Larix logo and a timestamp appearing on the screen:
Now let’s get back to Control panel tab.
Remote operation
Here’s what you can do here.

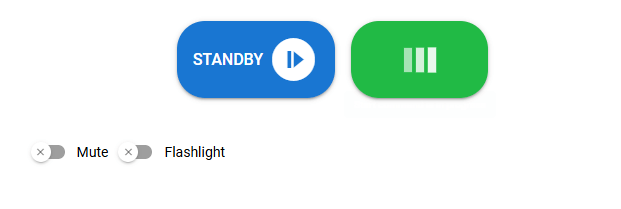
Streaming control buttons and Streaming control buttons and have the following logic.
The streaming state indicates either of thee states: Streaming, Paused and Idle (no streaming is happening). In our case we don’t stream anything so it’s Idle.
- By default, the stream is Idle and you can see Start and Standby active buttons.
- When you сlick on Start, it turns into Stop and the Standby turns into Pause. The streaming is started.
- If the streaming in going, you can click on Pause and put the stream (as you would expect) on pause. In Larix Broadcaster you can do that by long-tapping on stop button.
- Before the stream is started, you can click on Standby to put the stream on pause and start the stream in that state from the beginning.

Once the stream is started, you can see Active sessions link which leads into sessions page where you can track real-time streaming statistics.
When the device is on pause or in stand-by, this will be reflected in status and buttons state as well:
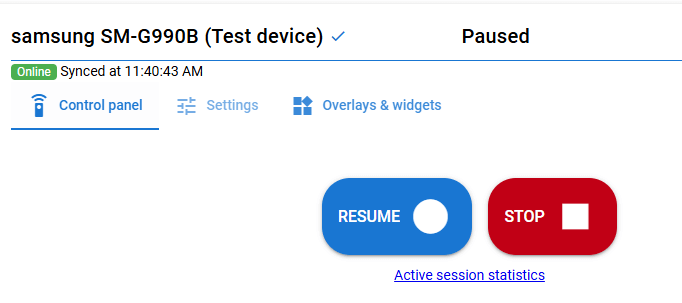
Besides controlling streaming itself, you can also Mute the stream audio and turn on the Flashlight for the device.
On iOS you can also turn off the screen by tapping Screen on switcher. You can turn it off to save some battery on your device. On Android you can just turn off the device and Broadcaster will still stream without interruption.

Besides the streaming control itself, you can control some of the options usually available only in the quick menu of Larix Broadcaster, they are also seen on the Control panel tab. Those are:
- Camera selection
- Zoom
- Exposure compensation
- Audio gain
Those operations will be applied almost instantaneously so you’ll see those changes on your device right away.
We’ve shown the process of remote configuration and control. If you have any ideas, please don’t hesitate to contact our team. Your feedback drives our development, we’re opened for any suggestions.
Stay tuned for more updates and feel free to sign up to Larix Tuner to try remote control in action.
Video preview
In order to see many of the changes above being applied, you need to see the device screen real-time.
You can use vide preview player to watch what the contributor’s device content looks like. It’s real-time and requires no additional servers or services as we use WebRTC technology to deliver it from device to your browser.
By default, you can simply click on Preview button and a few seconds later you’ll see the video feed, with a split-of-a-second delay. It will ask for microphone permissions – unfortunately, that is required to give your browser the ability to connect to Larix device.
Please read Preview real-time video feed feature set article to get full details about preview usage and tuning.
Remote control video tutorial
Here’s a video tutorial where you can see remote control and content preview in action.
If you find this feature set useful for your business or project, feel free to let us know of your thoughts and suggestions because your feedback gives us the ability to improve this forward for the entire remote production community.